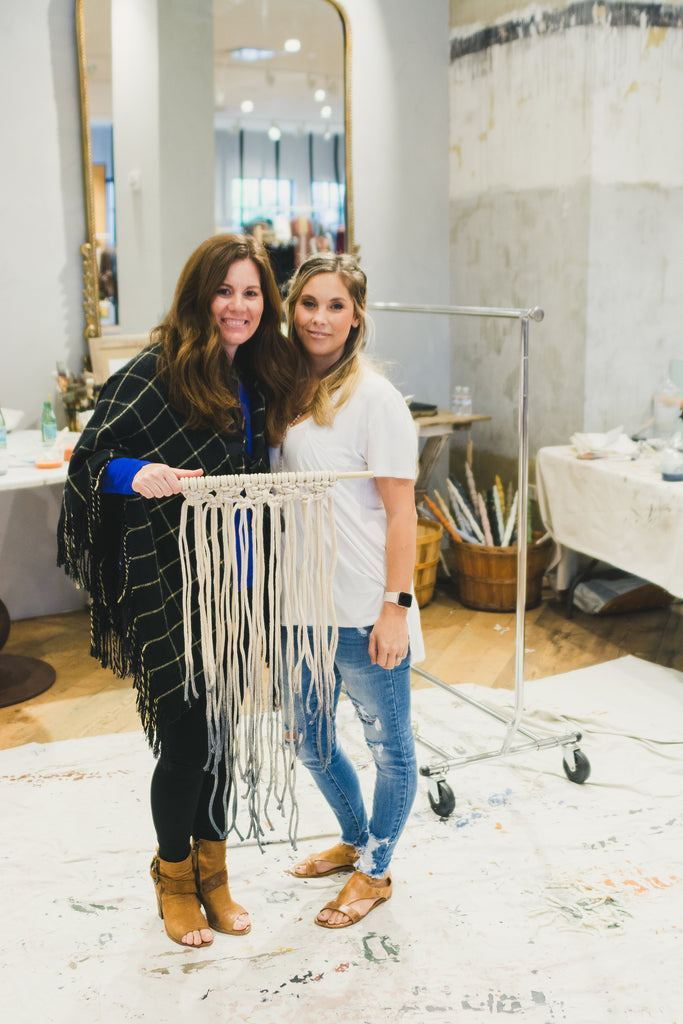
Macrame+Milk Paint Anthropologie Workshop


Last month I did this incredible workshop at Anthropologie! I combined my love for macrame with my love for milk paint and came up with the Macrame + Milk Paint idea. I pitched the idea to the girls at Anthro and they loved it too! So I went to work finding supplies and of course refreshed my very limited macrame skills!


The first step of our project was to cut our material ( I had rope, yarn, and string available) to double the length of what we wanted our finished project to be. Since you start with a larks head knot which is essentially the yarn folded in half and looped through itself you want to measure each cut to twice the desired length. I showed everyone some simple macrame knots and designs and offered advice on how to get projects started and have a vision for the final piece. Everyone caught on really quick and had so many amazing ideas! I just love how creative and happy this group was! I think they may have been as excited as I was for this workshop!

Once everyone was pretty well established with their projects I started to see these incredible designs. Every single person had a different vision for their projects and it's one of my first experiences leading such a creative group! Everyone was so talented! As the group progressed with their projects we neared my favorite part, milk paint as a dye! YES!! I began to explain how milk paint works and all of the many different uses it has. As we know it is one of the first paints ever created and was used on ancient artifacts and works of art that are on display in history museums today. Since milk paint is a powder you can really decide how thick or thin you want it. You can even use different mediums to mix it with. You can mix with oils to create an oil paint as I've done in the past creating a beautiful glaze by adding the mp powder into our Oil+Wax. Mix it thick to create texture and use as a gesso, mix it thin to make a wash or a stain, or fabric dye.


Mixing milk paint as a fabric dye is really simple and uses the smallest amount of mp ever, you only need a teaspoon or so of milk paint powder. Just add a cup of water and mix till all of the powder is dissolved, if the mixture is too dense you can add more water. I like to make sure I have a drop cloth beneath my project and it's easiest to have it hanging for this. This is literally my favorite ever, you can dip the ends of your project in the milk paint, the longer you leave them in the darker they will become. This works so well for an ombre effect, start with dipping the bottom and allowing it to soak for a few seconds, then slowly lower more of ends into the dye and allow them to soak, when you get far enough up to your lightest shade, you just set it in the dye for a few seconds and then wring everything out. If you want a multi colored ombre you can apply the milk paint dye with a paint brush as well. This also works to dye pieces when you don't want the entire project soaked in dye.


Some of the girls used multiple colors for their projects like Farmstead and Letterbox and they made these super muted ombre effects I absolutely loved! I had so much fun leading this class and meeting these amazing women~ This was by far my favorite workshop to date and I cannot wait for out next workshop in December! I have some super fun project ideas! What would you love to see us create at our next Anthropologie workshop?! Let me know in the comments!
Happy Painting!
~Chrystal

Leave a comment