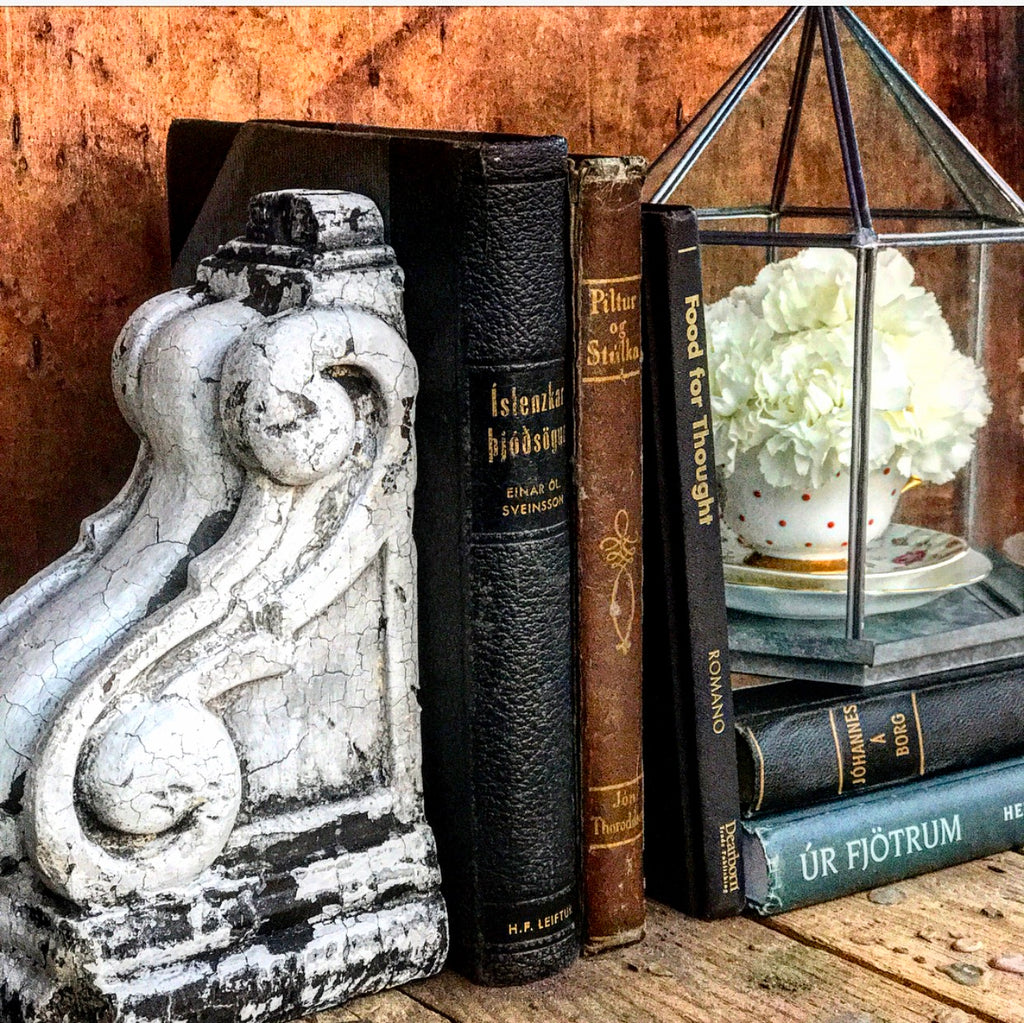
How to chippy paint authentic architectural salvage corbels


I LOVE corbels, and the older, the better! I have never bought an authentic old corbel because they are just SO expensive! I recently bought a few corbels at Home Depot to share our news stains on. Since then, I've been playing around with the idea to try to replicate the old antique corbels I love so much.

I like these corbels at HD, they're pretty and I thought all the detail would look lovely antiqued! The first thing I did was stain the corbel in our One-Step stain in Black Coffee. I then Layered Saddle Brown and Weathered to add as much dimension as possible.
I took a chisel and hammer to beat and chip away what I would naturally happen through years of use. I then applied a coat of OBMP Milk Paint in Stoneware in sections, drying them with a heat gun between. Forcing the Milk Paint to dry so quickly causes it to crack and craze, which you see on a lot of antique corbels and balusters. I repeated this process for a few more layers, then added a beige color which you will find on many antique architectural pieces. I did a couple coats of this color using the heat gun between layers as before. At this point I was just slapping paint on and drying it rapidly with the gun. I then did some more coats of Stoneware to finish it off. It looked great so far but I wanted to add some real age to it so I applied OBMP Black Wax. Then I added a bit of our Oil + Wax in the deep recesses and pressed OBMP Dirt into it. I love how the Oil + Wax deepens the color of the Dirt creating a really old dusty look. This wasn't enough for me... of course. I then wiped the entire corbel down and heavily applied the Dirt to the whole thing really caking it into those detailed areas, the effect this achieved was amazing!!! It really muted everything and put this dusty haze over it all and really got into all the cracks. I then grabbed my handy scraper and pulled off the chipped paint here and there.


I am loving how this project came out. For something I was just kind of winging as I went, I'm definitely planning to do this to some more pieces in the future!!
Thanks for reading along today!
Happy Painting
~Chrystal

Leave a comment